Honestly I always assumed the difference between a hat that looks homemade and one that looks professionally crafted was just talent or expensive equipment. It is honestly neither of those things. It comes down to a handful of specific techniques that professionals use consistently and once you know what they are the gap between amateur and professional results honestly closes way faster than you would expect. Let us look at all of them.
Blocking Comes First
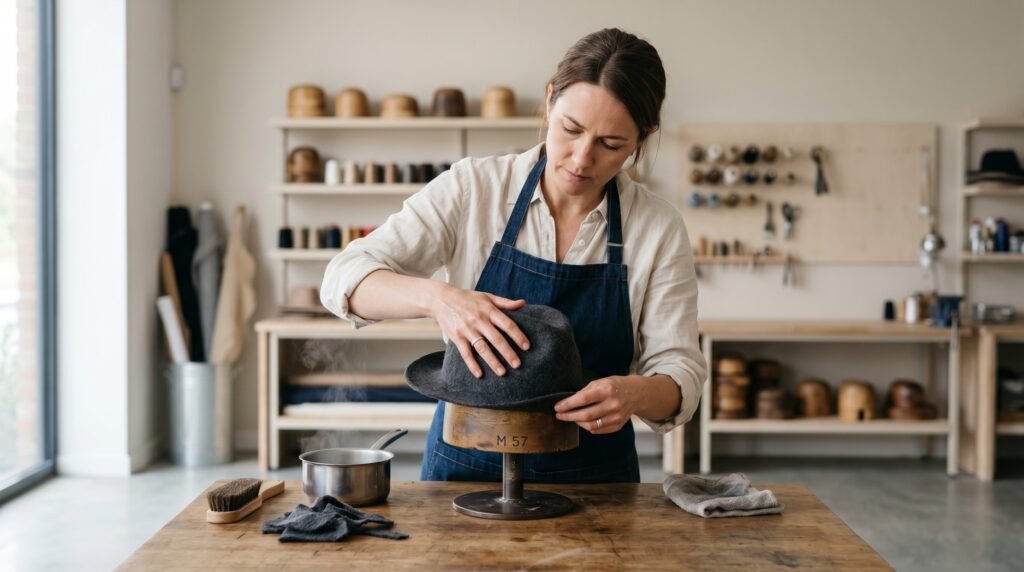
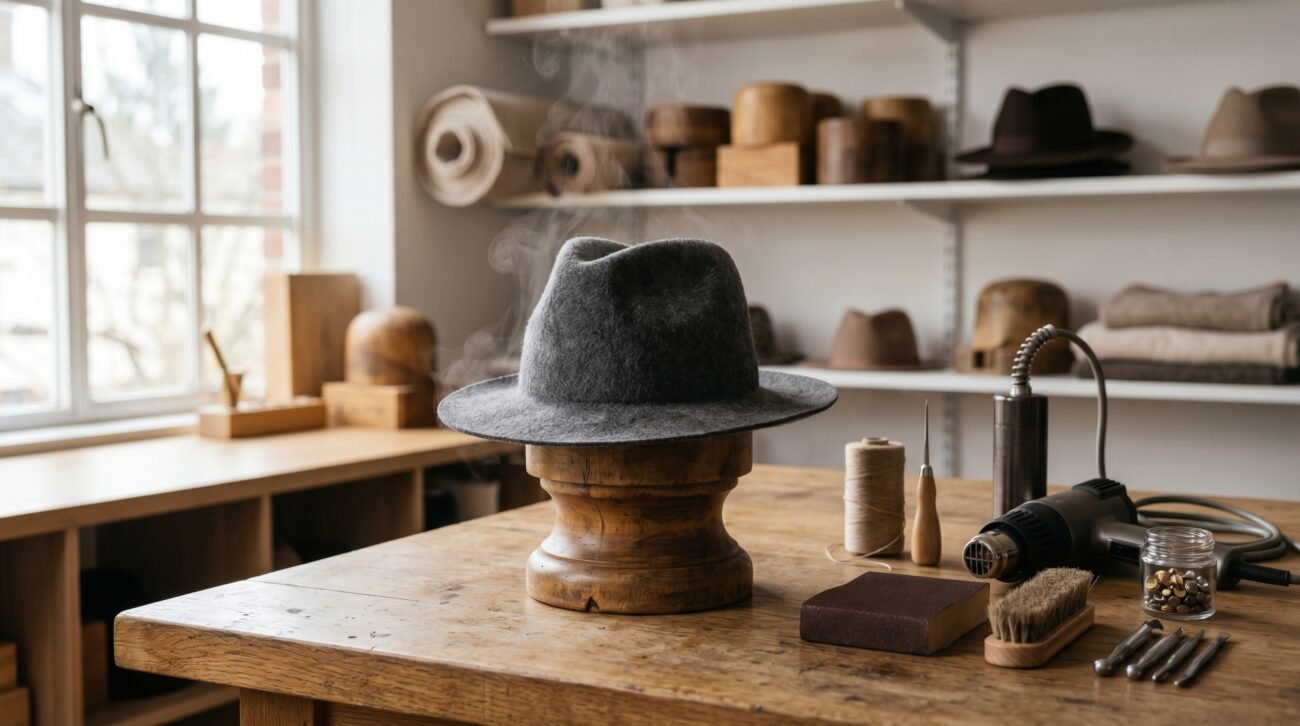
Every professional hat maker starts with blocking which is the process of shaping the hat over a mold while the material is still damp and workable. Skipping this step is honestly the single biggest reason most homemade hats never look quite right no matter what else you do to them.
Steam Is Everything
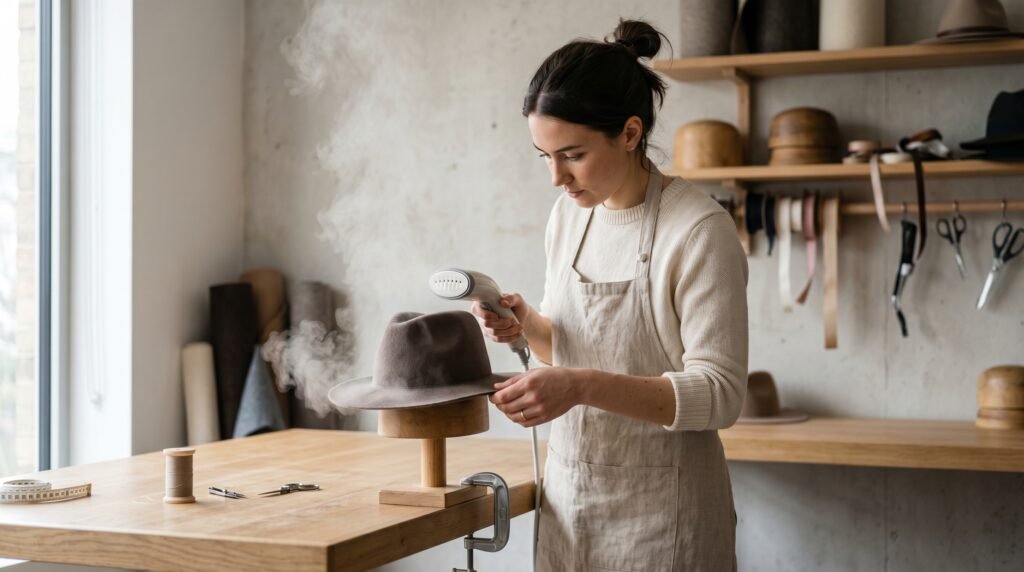
Professionals use steam constantly throughout the whole process to manipulate the material into exactly the shape they want. A simple handheld steamer is honestly one of the most game changing tools you can add to your hat making process and it costs very little to get started with.
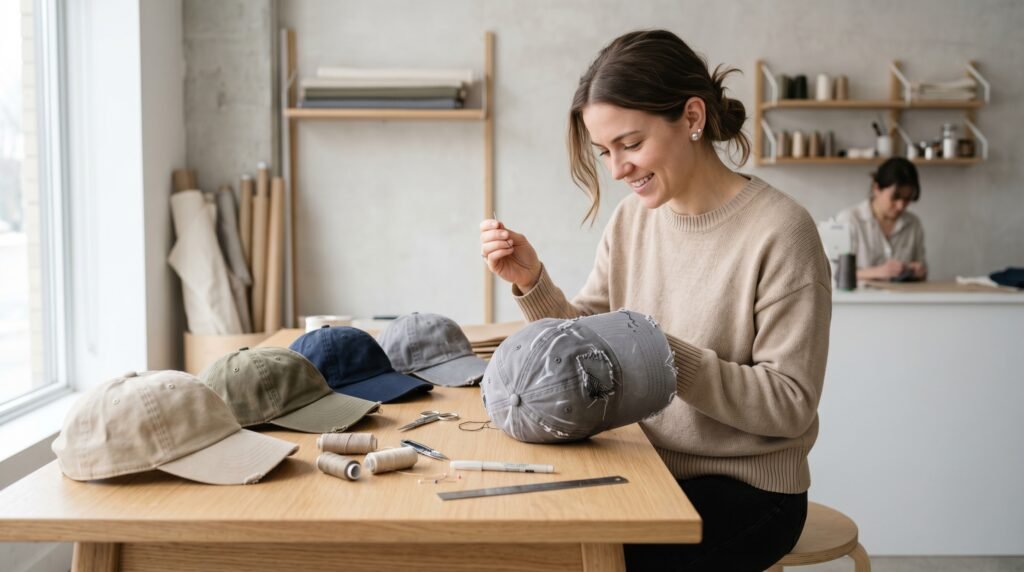
Distressing Has a Specific Order
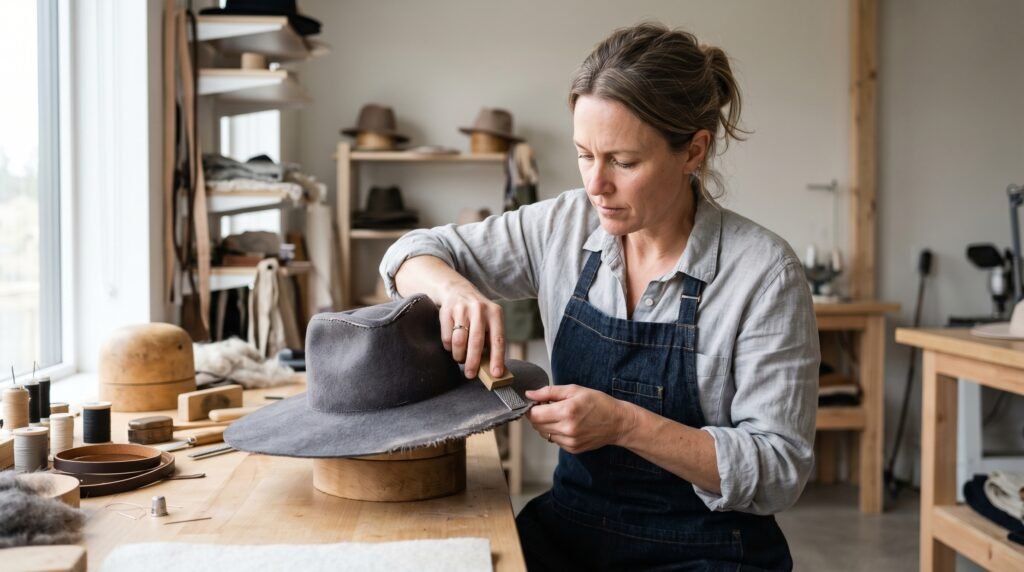
Most people distress randomly but professionals always work in a specific sequence starting with the brim edges then moving to the crown and finishing with the surface texture. Following that order honestly produces results that look super intentional rather than just randomly beaten up.
Sandpaper Grades Matter
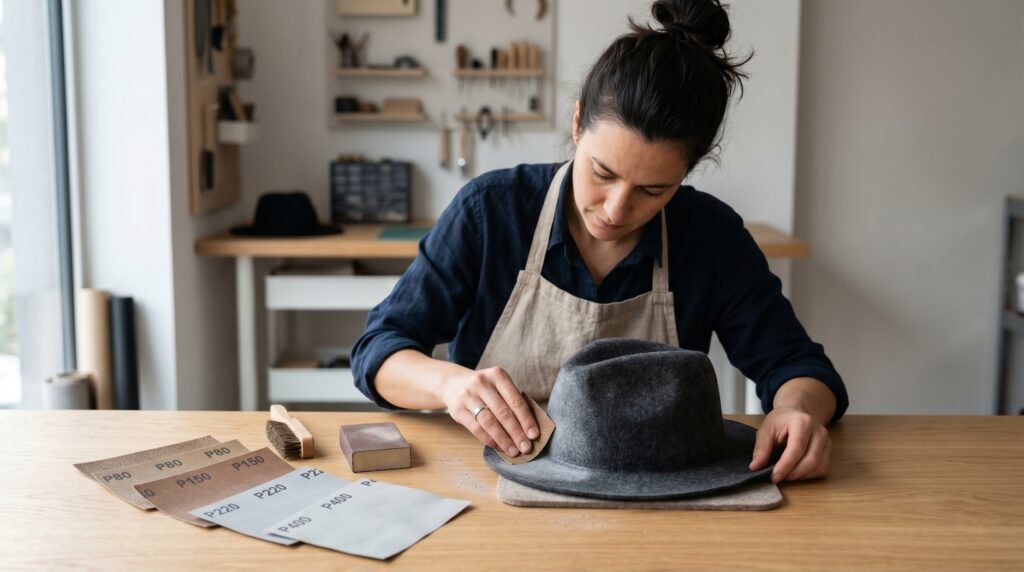
Professional hat makers use multiple grades of sandpaper moving from coarser to finer grits to create distressing that looks naturally worn rather than artificially damaged. Using only one grade is honestly one of the most common mistakes beginners make and it shows immediately in the final result.
Heat Changes Everything

Carefully applied heat from a heat gun can reshape brims, set curves and create permanent structural changes that completely transform how a hat sits and moves. Lemmy Kilmister was famous for wearing hats that had been heavily shaped and worked over time and that signature look started with exactly this kind of intentional heat shaping.
Layering Paint Creates Depth
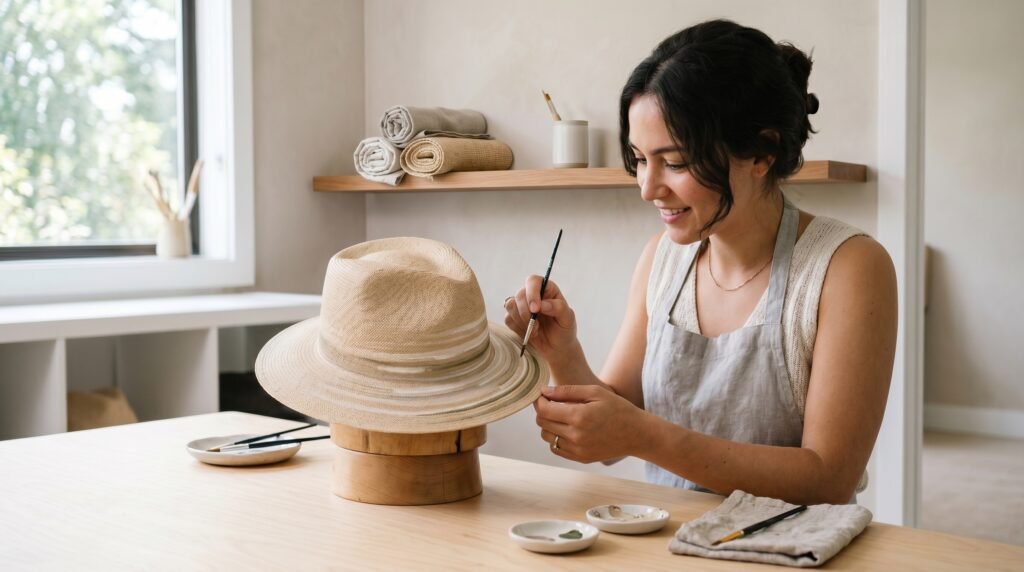
Professionals never apply paint in one heavy coat and the difference between one coat and five thin layers is honestly night and day in terms of how real and dimensional the final result looks. Building up slowly is honestly the most important painting technique there is.
Hardware Placement Is Planned
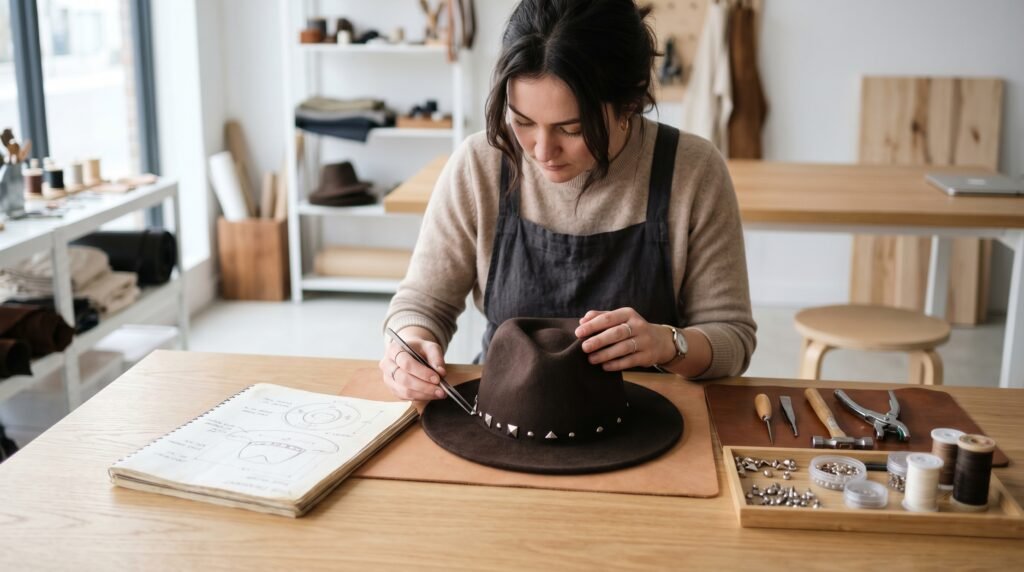
Every stud, rivet and metal piece on a professional hat is placed with intention rather than just scattered around randomly. Professionals sketch out their hardware placement before touching the hat which is honestly a super simple step that makes a massive difference to the final look.
Sealing Protects Everything
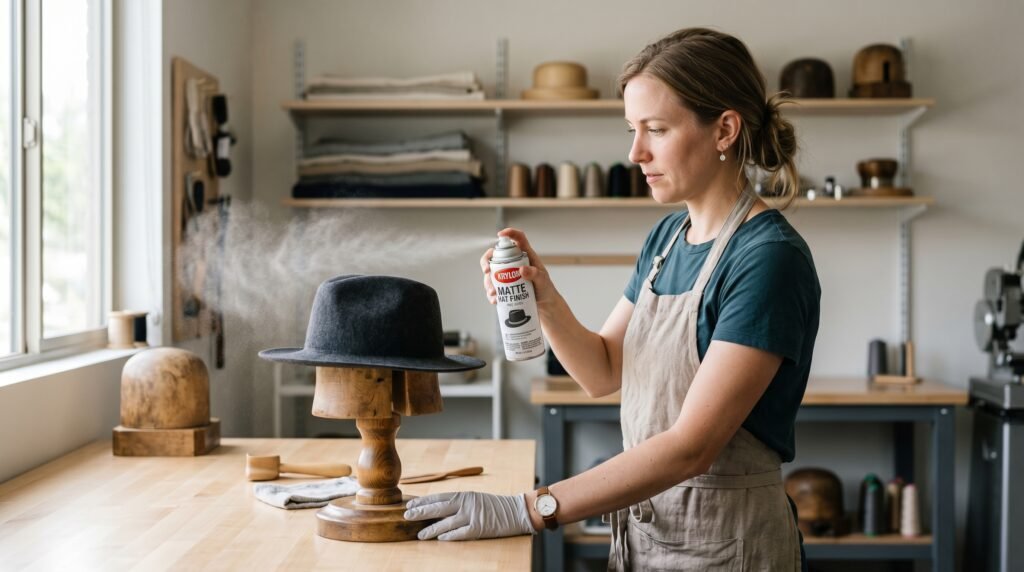
The final step that most beginners skip completely is sealing all the work with a proper matte finish spray that protects the paint, locks the distressing in place and gives the whole hat a super cohesive professional quality that honestly ties everything together perfectly.
Practice on Cheap Hats First
Every professional hat maker will honestly tell you the same thing which is that their best techniques were developed on hats they were not afraid to ruin completely. Buying a few cheap bases to experiment on before working on something you actually care about is honestly the smartest thing any beginner can do.