Honestly adding details to a plain hat sounds super easy until you actually try it and realize that the difference between something that looks amazing and something that looks like a craft disaster comes down to a few really specific decisions. The good news is that these decisions are not complicated at all once you know what they are. Luckily we are going to break every single one of them down right now.
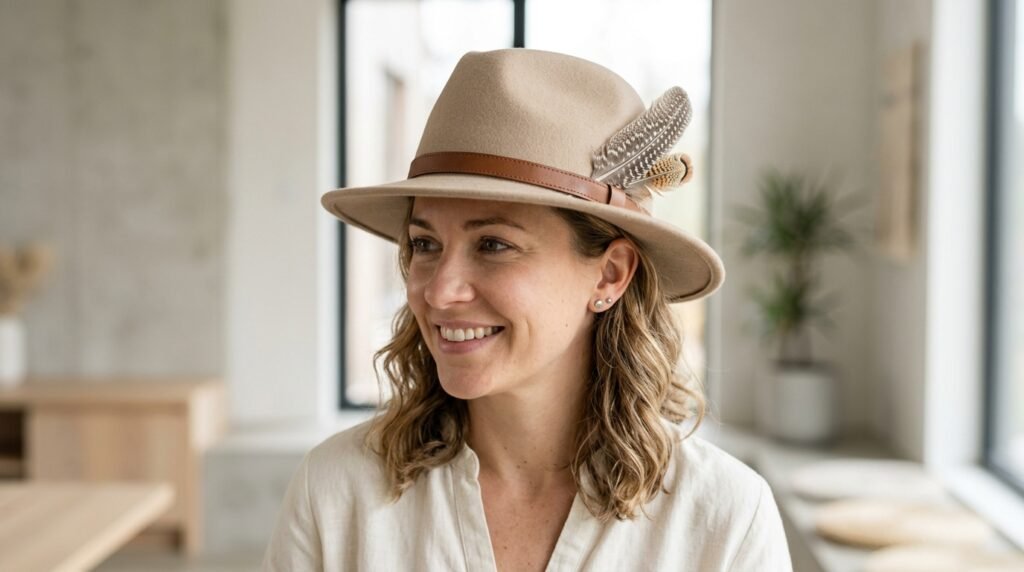
The One Focal Point Rule
Tons of people make the mistake of adding details everywhere at once and the result always looks super cluttered and overwhelming. People on craft forums constantly talk about how picking just one area of the hat as the main focal point completely transformed their results immediately.
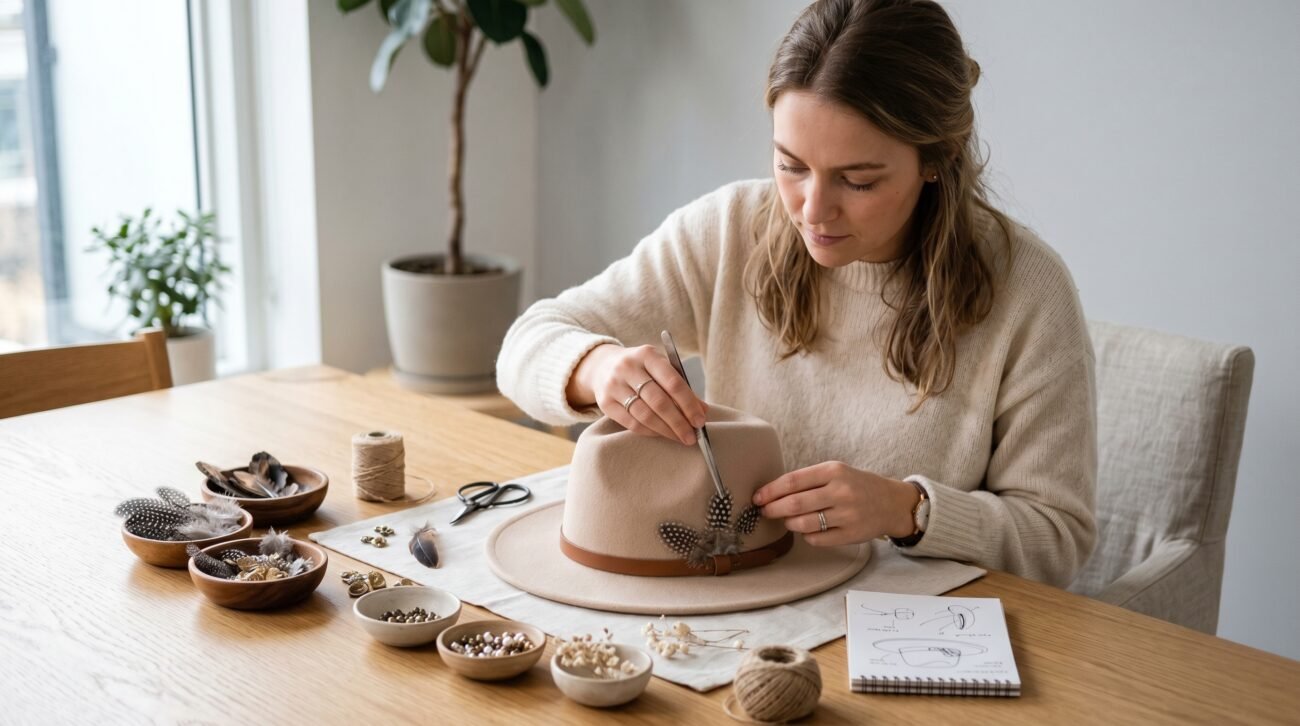
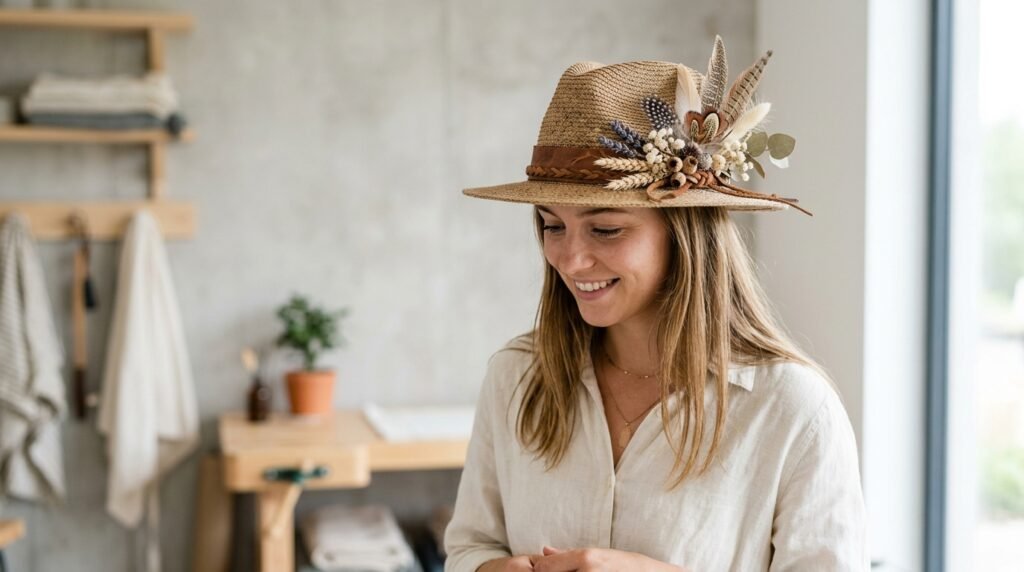
Where Feathers Actually Belong
Feathers look so much better when they are tucked into the band rather than glued randomly onto the surface of the hat. Angling them slightly backward creates a natural flowing look that honestly reads as super intentional rather than just randomly stuck on.
Mix Your Feather Sizes
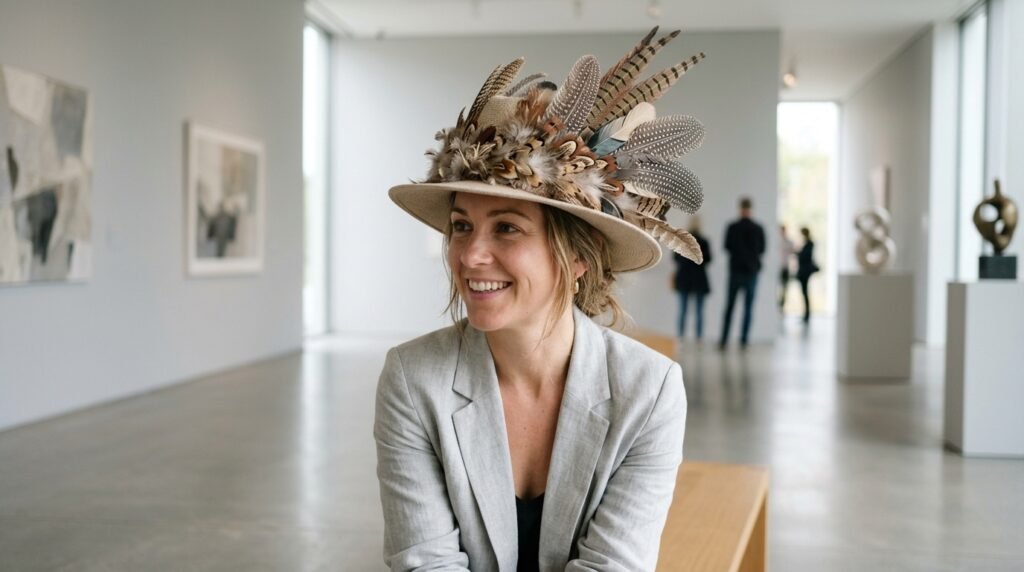
Using only one size of feather always looks a little flat no matter how nice the individual feathers actually are. Mixing larger statement feathers with smaller filler ones creates a depth and texture that is honestly way more visually interesting from every single angle.
Cards and Charms in the Band

Tucking tarot cards, playing cards or small charms into the hat band is honestly one of the easiest ways to add serious personality without doing anything permanent or complicated at all. The band holds them naturally and they can be swapped out whenever you want a completely different look.
Wire Your Feathers Properly
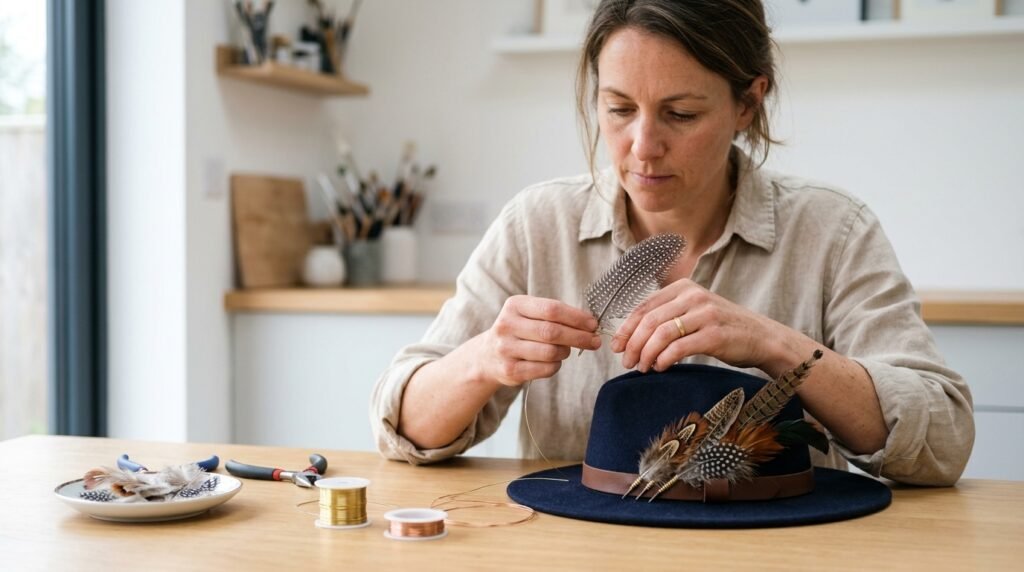
Tons of people just glue feathers directly and then wonder why they fall out after a few wears. Wrapping the stems with thin wire before securing them into the band is honestly what keeps everything looking clean and intentional for a super long time.
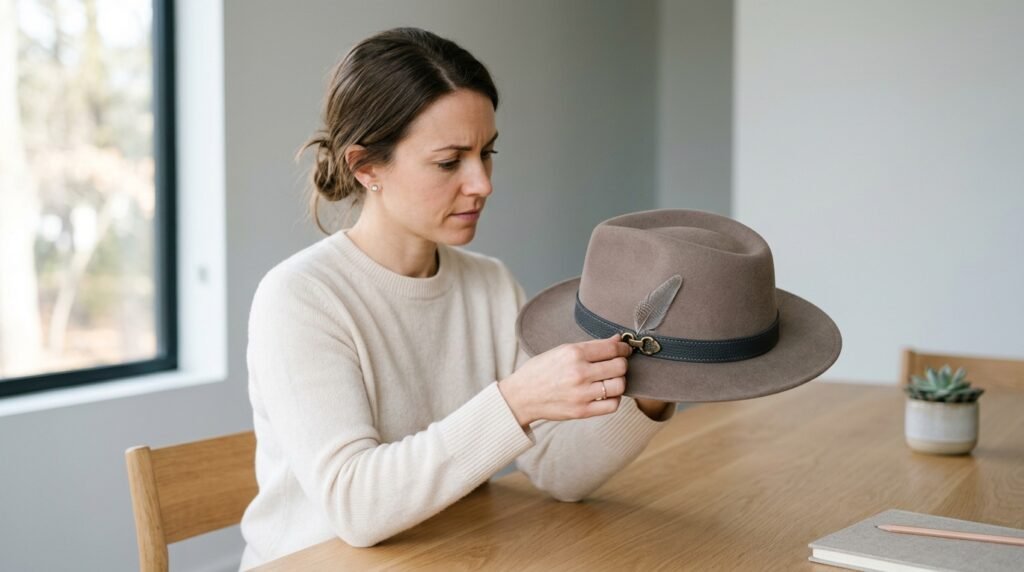
Hardware Anchors Everything
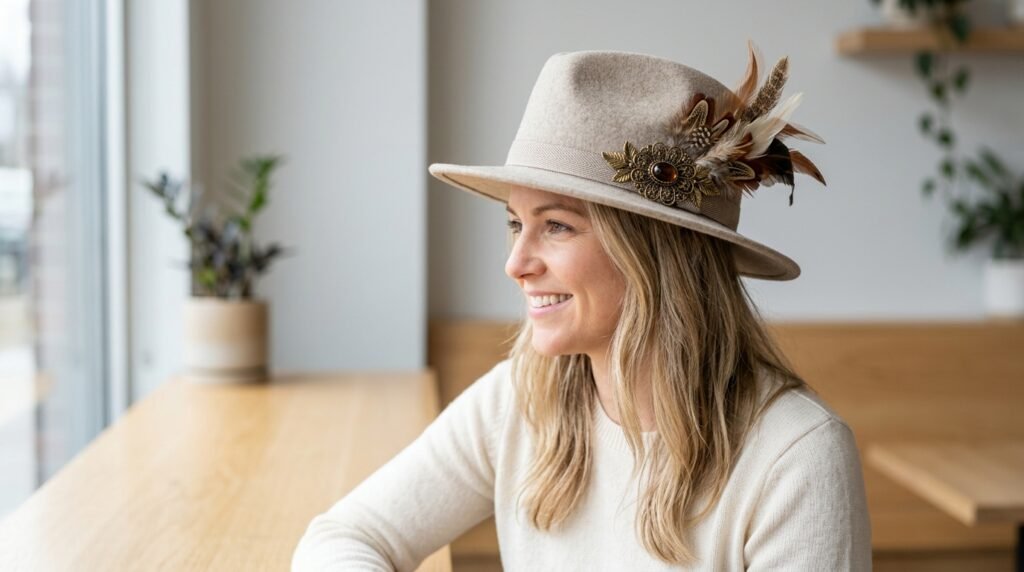
Adding one small metal piece like a brooch or decorative pin near the focal point gives the whole arrangement something solid to visually anchor around. Without that anchor even really beautiful details can honestly look like they are just floating randomly with no real direction.
Stop One Step Early
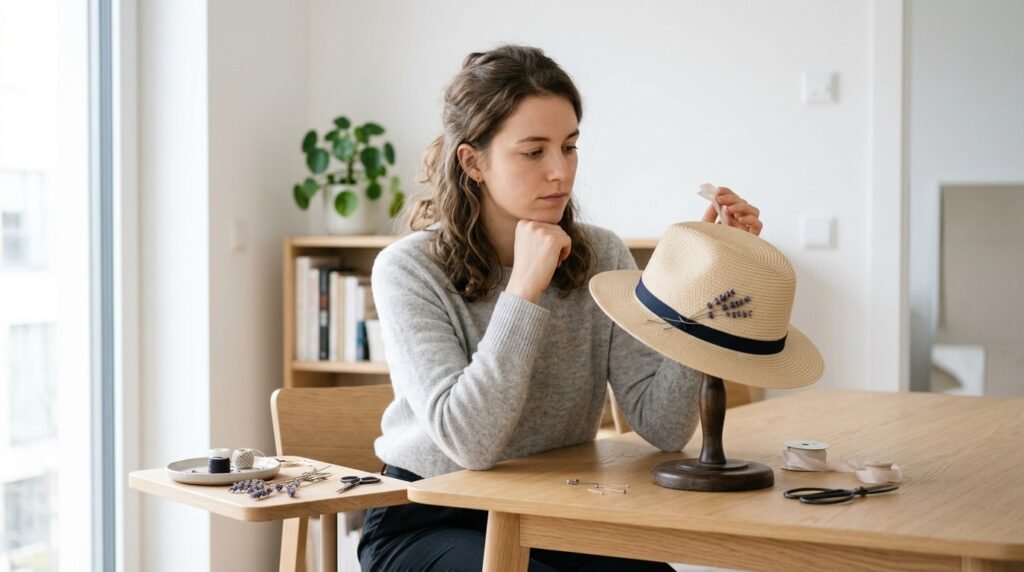
The most common mistake people make when adding details to a hat is honestly just doing too much at once and not knowing when to stop. Stopping one step before you think you are done is honestly always the better move and the results almost always look so much better for it.
Seal Everything Properly
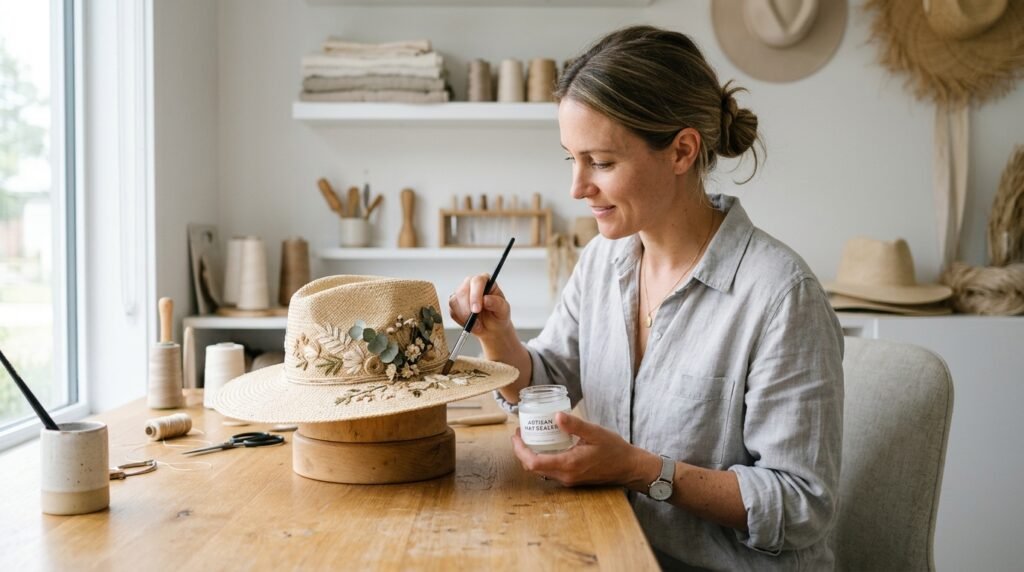
Any details that have been glued rather than wired should be finished with a light coat of clear craft sealant to keep everything secure through regular wear. Tons of people skip this step completely and it is honestly the fastest way to watch all your hard work come undone way too soon.
Step Back Regularly
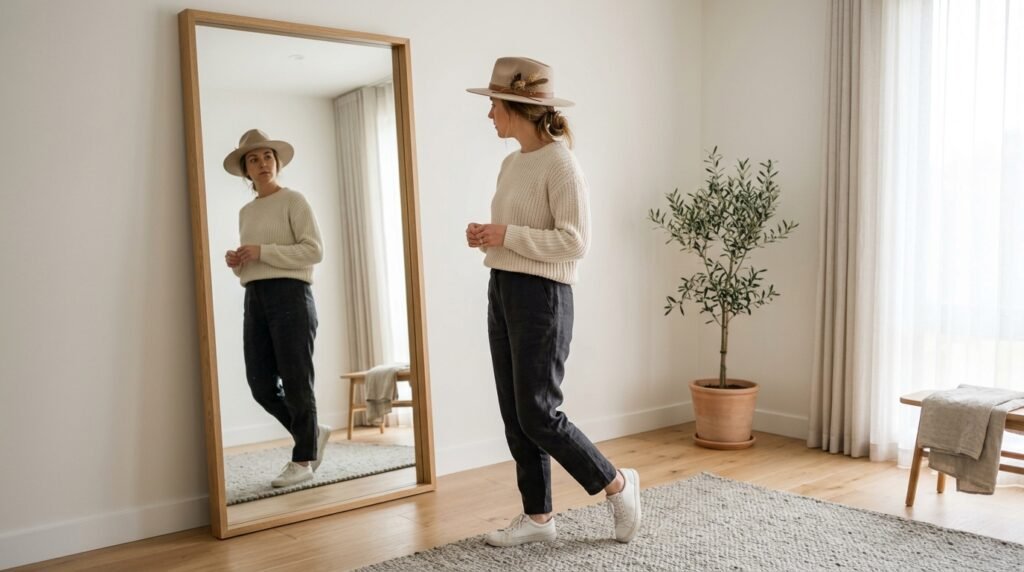
Putting the hat on and stepping back from the mirror every few additions is honestly one of the most important habits you can develop during this whole process. What looks right up close very often looks completely different from a normal everyday viewing distance.
Natural Materials Work Best Together
Feathers, dried flowers, leather strips and twine all play super well together because they share the same organic quality that makes everything feel cohesive. Mixing natural materials with synthetic ones requires a lot more care to stop the whole thing from looking super inconsistent.
Work the Band First
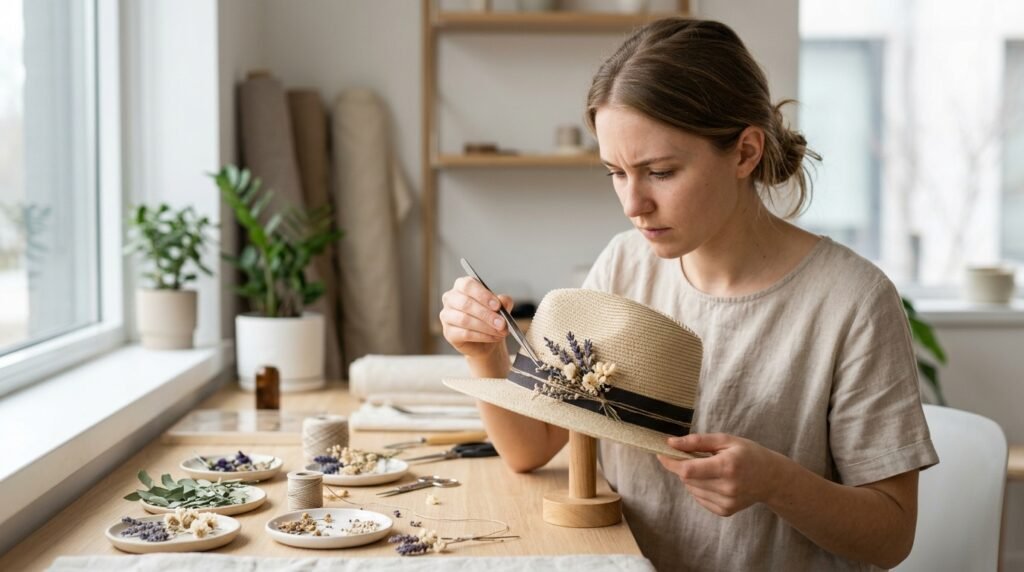
Hopefully more people start realizing that the hat band is honestly the single most versatile place to add any kind of detail because it holds things naturally and frames the whole hat perfectly. Focusing most of your creative energy there rather than the crown or brim is honestly what most experienced hat makers always recommend starting with.