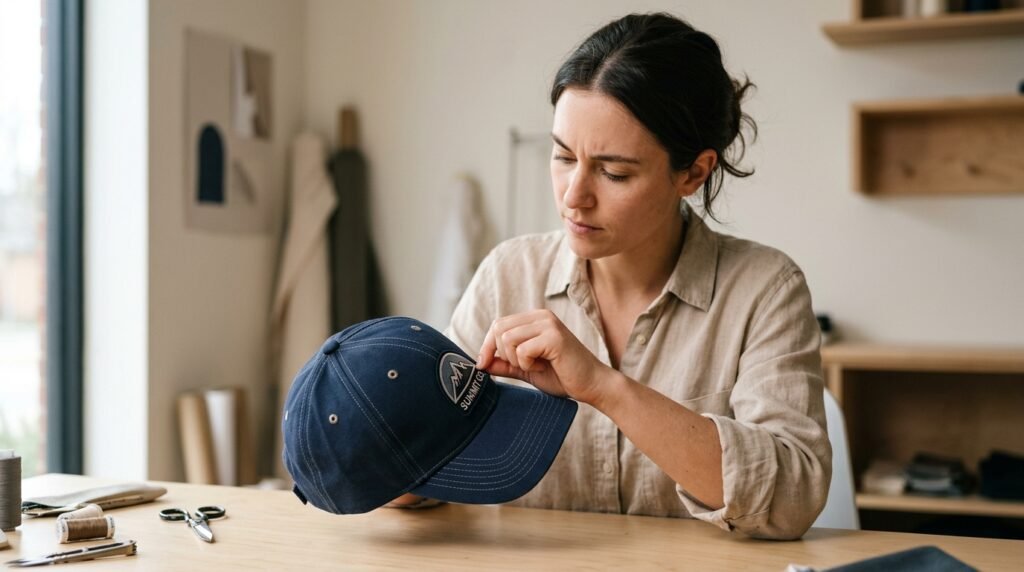
Hats today aren’t just worn – they’re reimagined by hands eager to mix flair with function. From ordinary caps, personalities emerge through studs, dangling chains, or fabric stacked like layers of intent. No studio background? No problem – what matters sits within reach: time, glue, an idea. Start small, think big; suddenly a plain lid carries weight, as if stitched in a downtown atelier. Minimal lines or wild contrasts – the choice bends only to what feels right mid-process, not trends. Outcomes shift piece by piece until each one refuses to blend in.
Choosing the Right Base

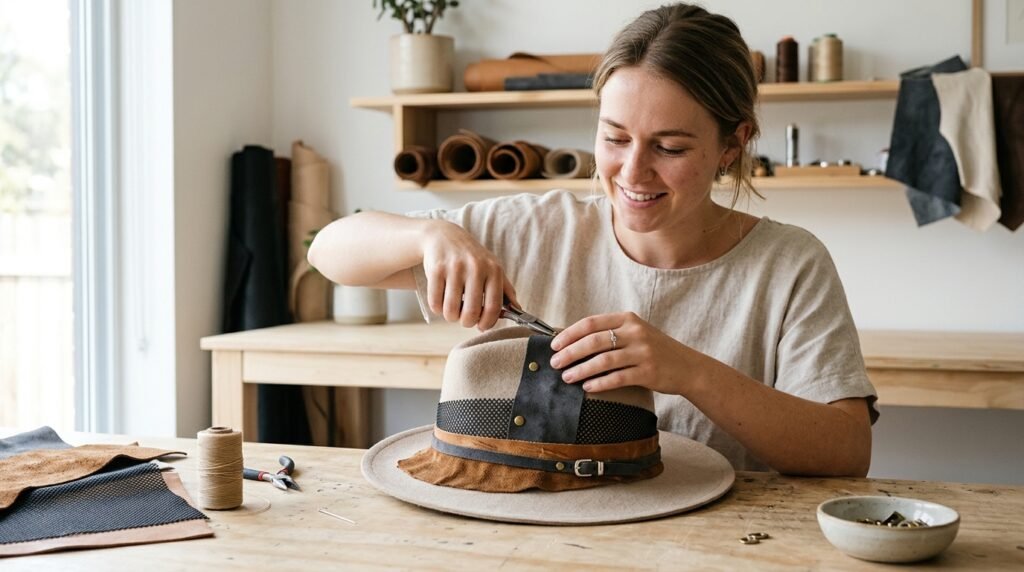
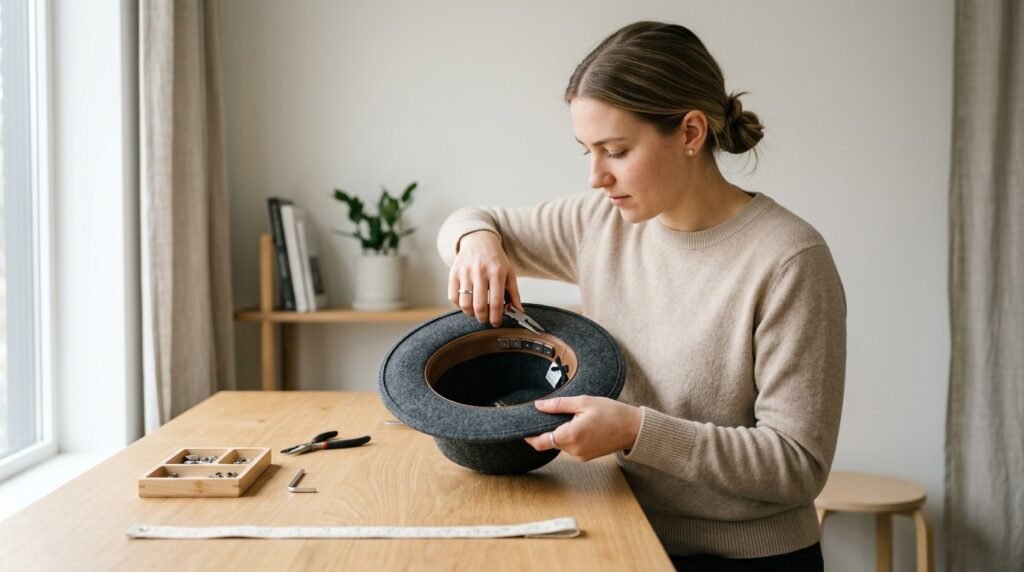
A strong hat begins with fabric that lasts – think felt, wool, or denim. Built to keep its form, it handles extra elements without drooping down the sides. Shape stays true, even when burdened through days of wear.
Select Quality Metal Pieces
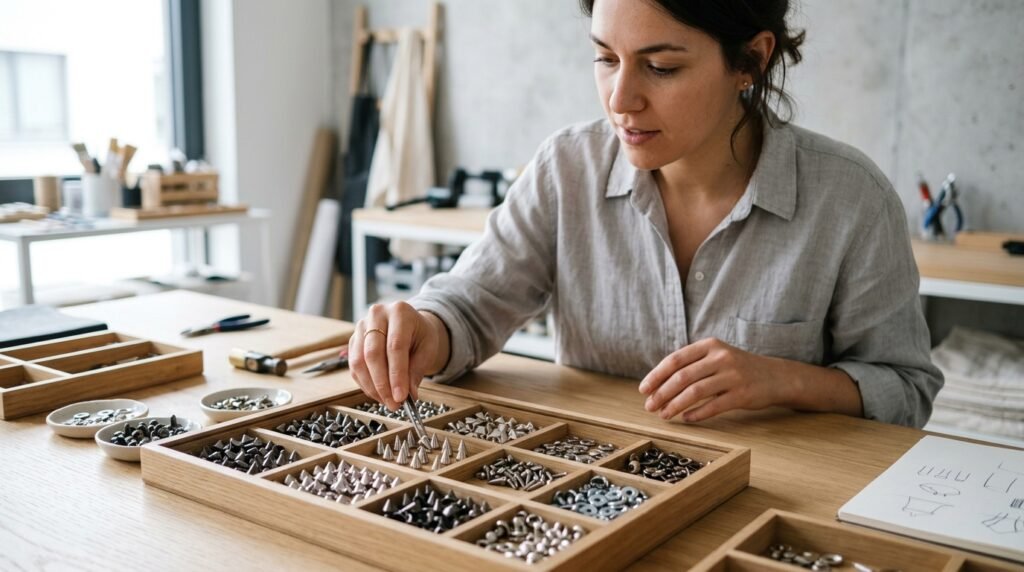
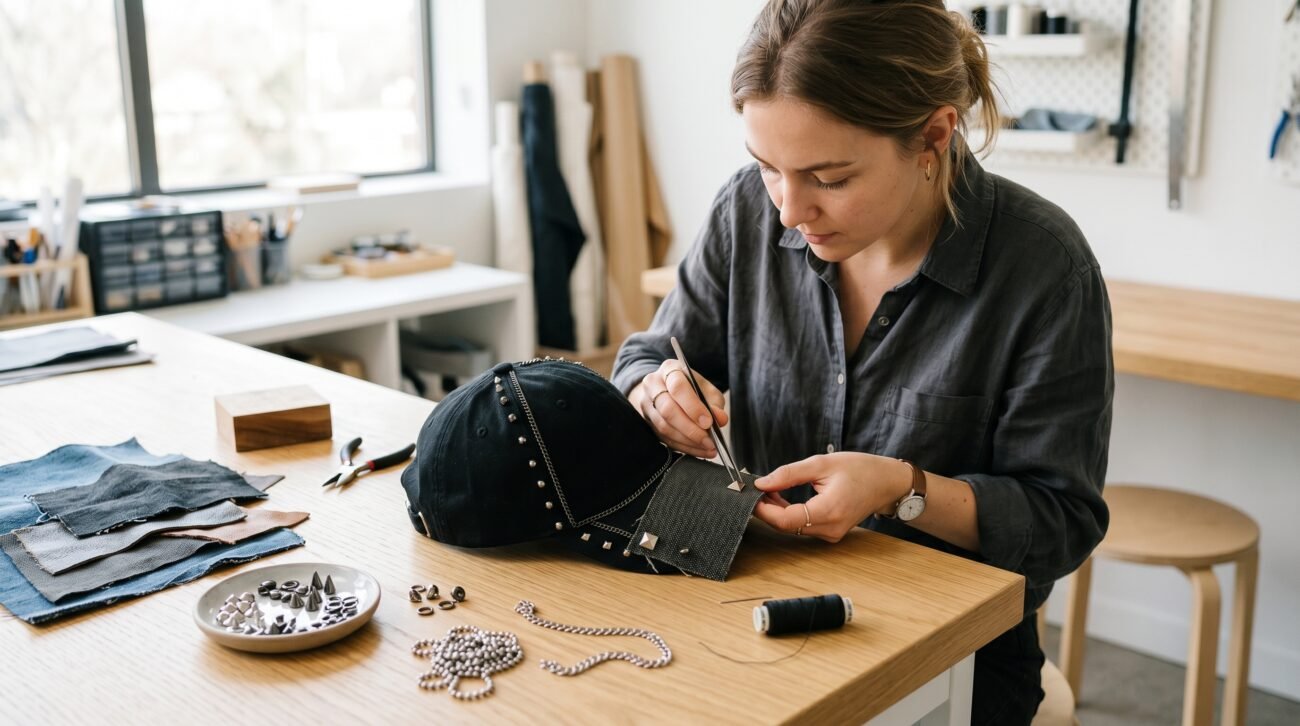
Studs might suit you if sharp details catch your eye. When it comes to durability, go with a metal that won’t add weight but shrugs off rust just fine. Spikes bring edge – yet comfort matters, so keep heaviness out of the equation.
Handle chains with caution
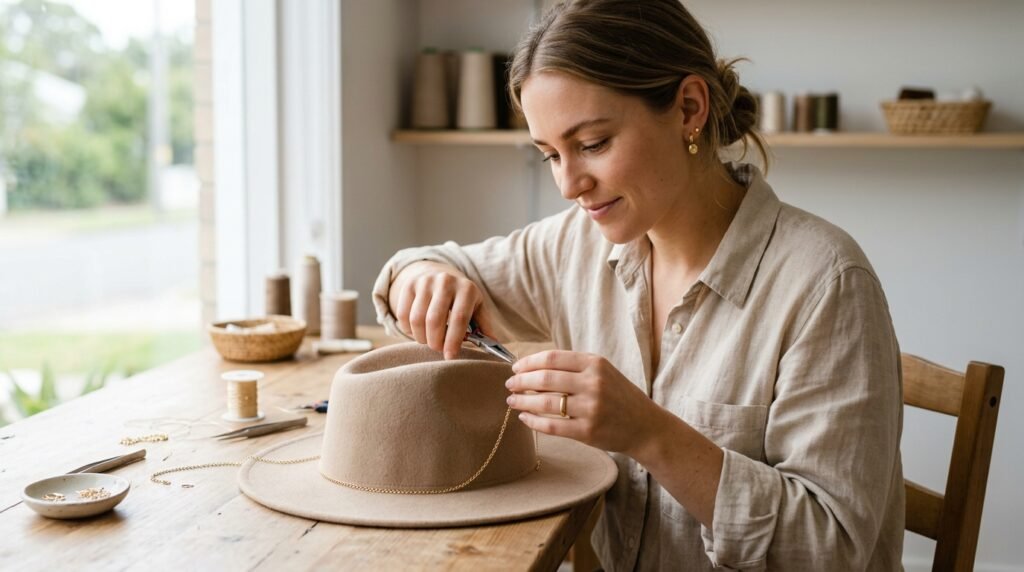
Start with a chain near the edge if you want subtle flair. From there, let one drape down by a side loop – just make sure it stays put without tugging. Hang another close to the top for balance, yet keep movement under control. Smooth contact against skin is key, so check how it rests after adjusting.
Scribble First

Start by spending some time planning how it will look. Doodling ideas on paper gives you a chance to see what works before committing. This way mistakes are easier to fix early. Skipping this step might lead to clutter later on. Clear thinking at the start often means less fixing down the road.
Choose Suitable Tools
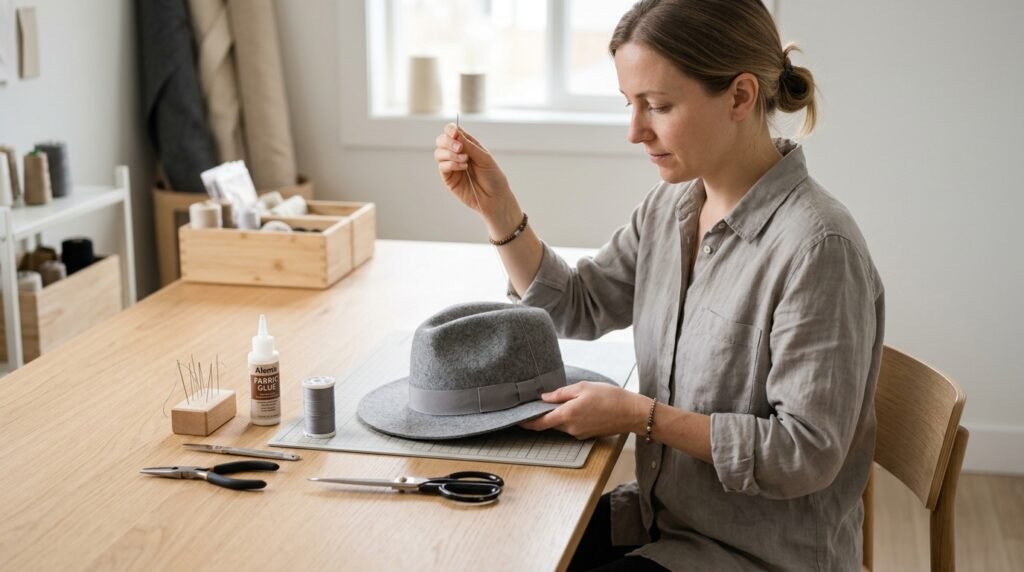
Pliers, needles, or a dab of heavy-duty fabric glue often help things go faster. When dealing with bulkier parts, stitching works – rivets add another layer of hold.
Layer Textures Thoughtfully
Start with a leather patch, then slip in some suede beside it. Mesh finds its place when balanced against something tighter, stiffer. Embroidery sneaks in softly if the rest stays quiet. Rough meets smooth best when one doesn’t shout louder than the other.
Weight Balance Focus
Start by spreading things out across the hat so one part isn’t heavier. When one area pulls down, it shifts how the whole thing rests. Balance matters because uneven load leads to pinching or slipping.
Secure Everything Properly
A wobble here or there might undo all your work. Test every part – tug lightly, try it on – to see if things hold without shifting.
keep comfort in mind

Heavy parts can dig into your skull – skip those. Style matters, yet comfort keeps you wearing it longer.
Add Personal Signature
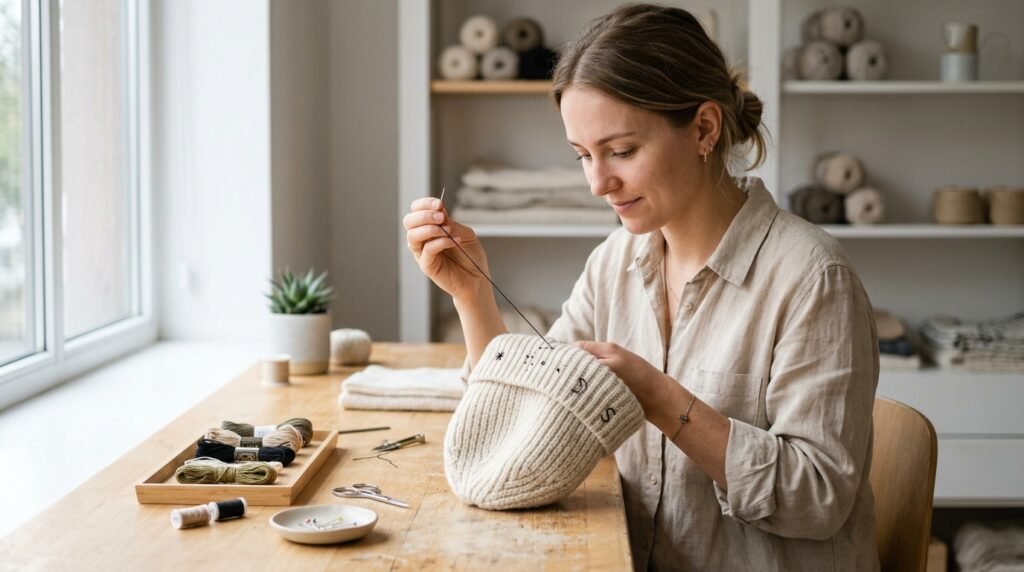
Start with small details – maybe letters, icons, or repeating patterns. That shift makes the hat feel less made by hand and more like you.