A hat that looks genuinely worn in always tells a better story than one that came distressed straight off a shelf. The good news is getting that natural lived in look at home takes very little and the results are almost always better than anything bought pre-aged. Here is exactly how to do it properly without ruining the hat in the process.
Start With the Right Material

Cotton and wool respond beautifully to distressing. Synthetic fabrics fight the process and rarely end up looking convincing no matter what you do to them.
Sand the Brim and Crown
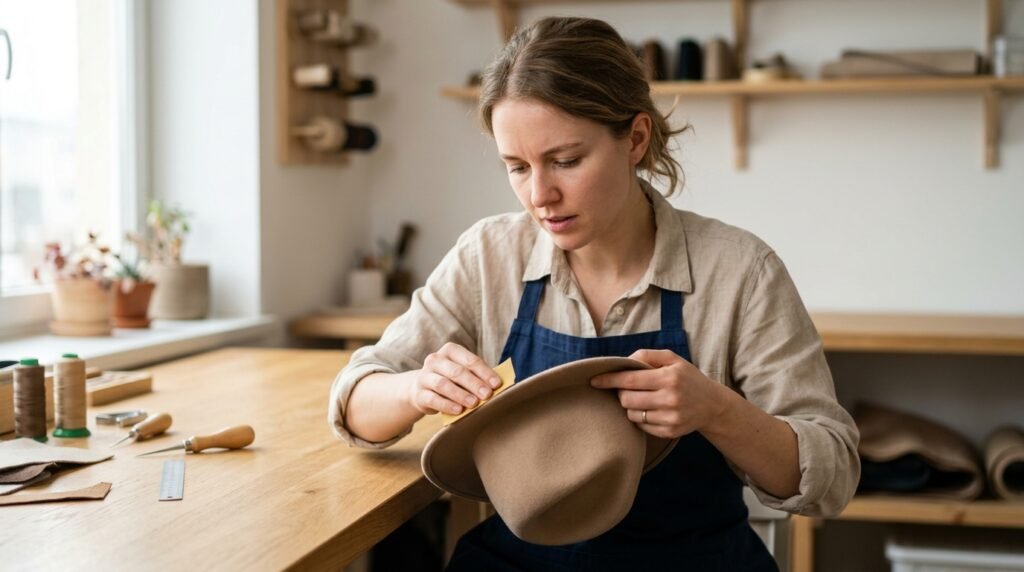
Medium grit sandpaper worked lightly along the brim edges and crown creates that worn down texture quickly. Go slowly in one direction and check often because adding more is easy but going back is not.
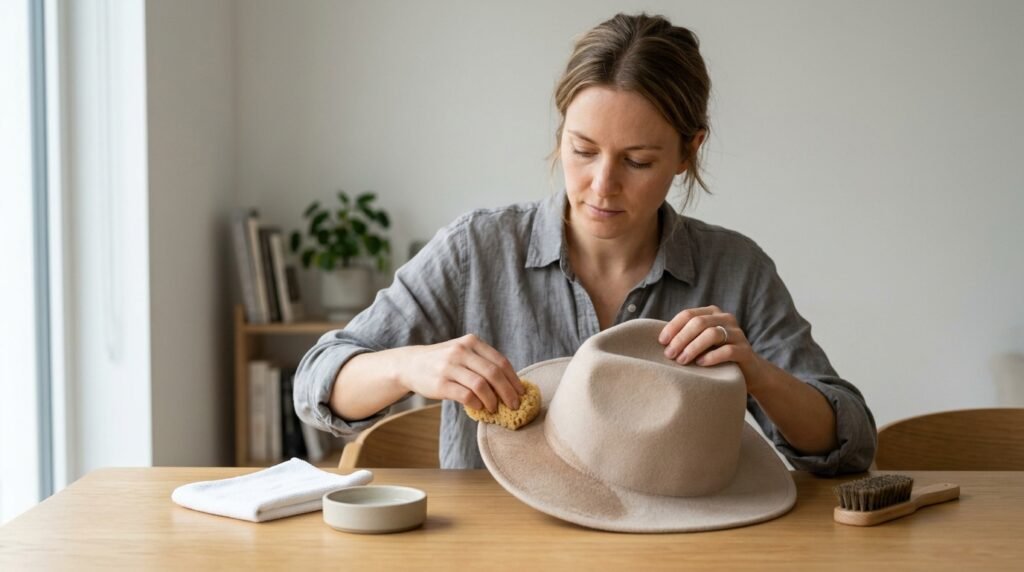
Salt Water Soak
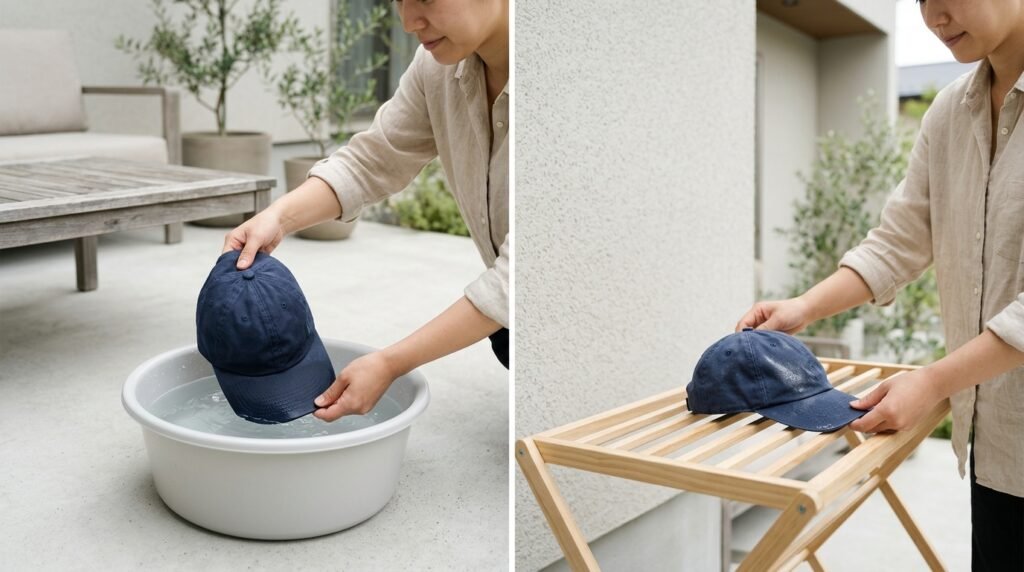
A brief soak in salt water followed by air drying outside replicates years of natural weathering surprisingly well. The salt breaks down fibers gradually and leaves behind that uneven faded finish that looks genuinely aged.
Sun Exposure Works
Leave a damp hat out in direct sunlight and rotate it every hour for even fading across the whole surface. The sun does in an afternoon what years of regular wear would do gradually.
Diluted Bleach for Fading
A very light bleach solution applied with a sponge creates controlled color loss in specific areas. Focus on the brim edge and crown since those fade first on any real vintage hat.
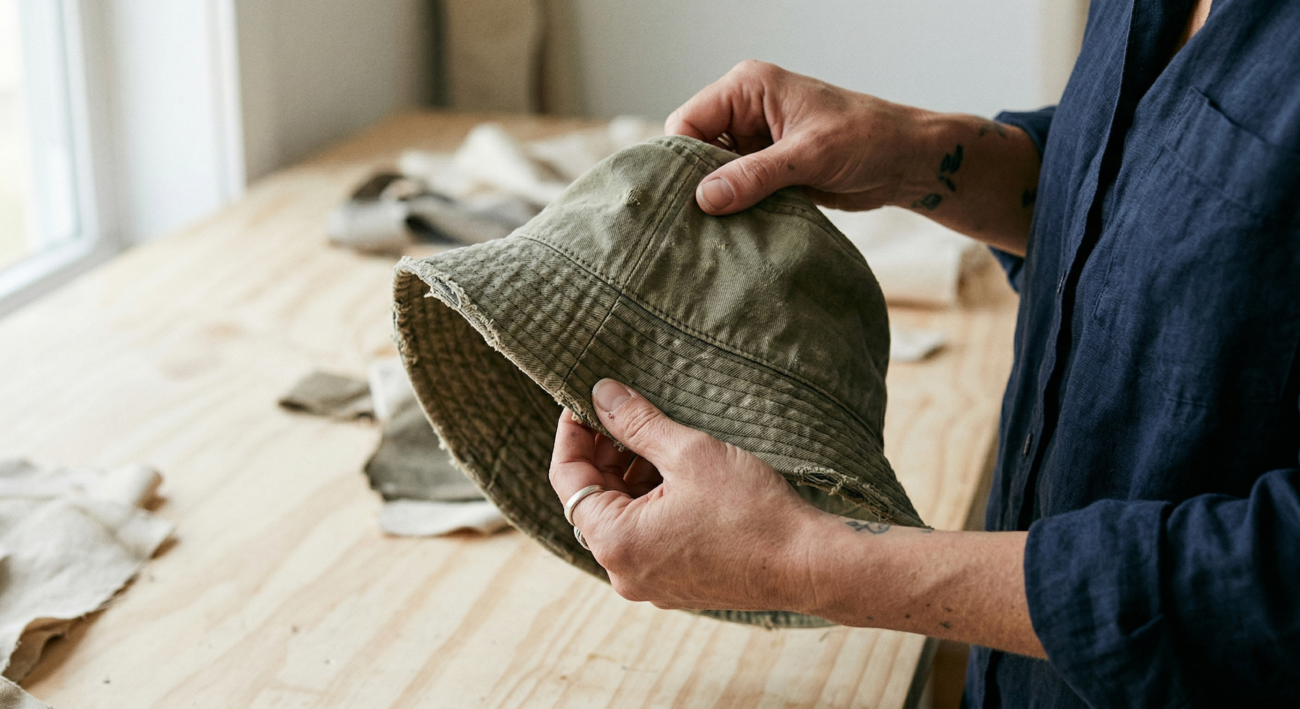
Crumple and Reshape
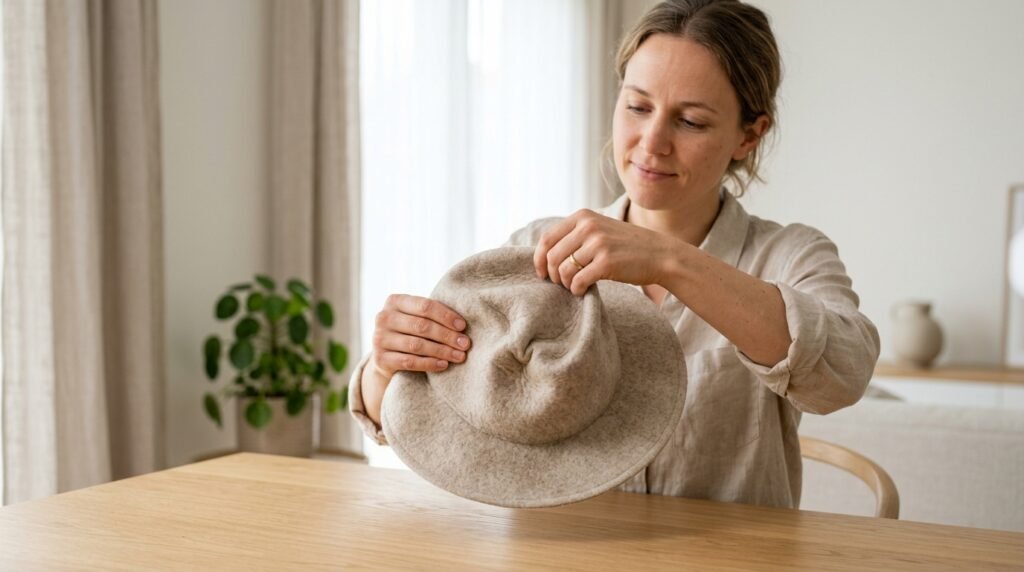
Scrunching the hat and reshaping it repeatedly while slightly damp breaks down the structure naturally. Small irregular creases and imperfections are exactly what makes the finished result look real.
Add Subtle Dirt
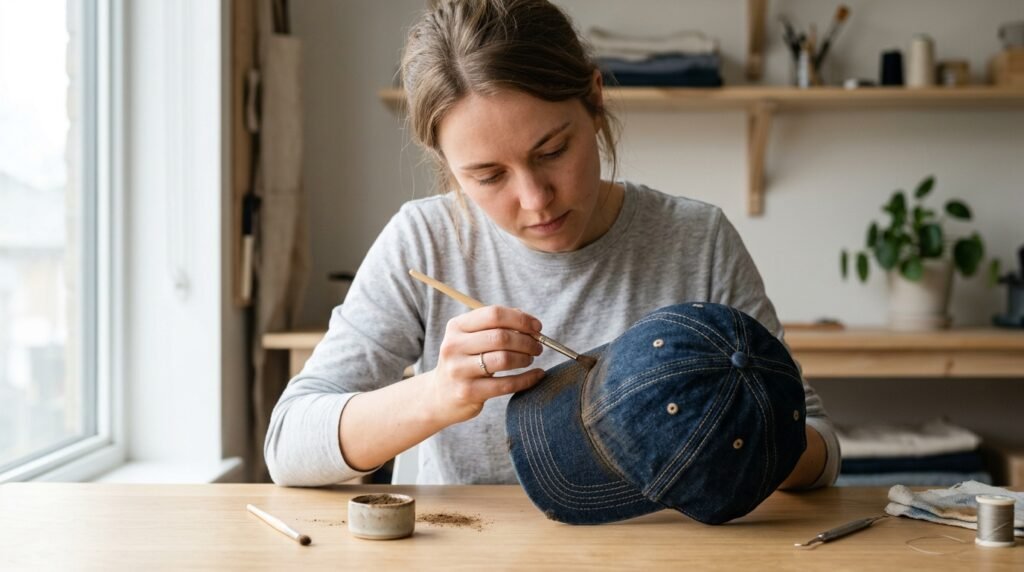
A tiny amount of fine dirt or dark brown paint rubbed lightly into the seams adds depth that makes the hat look genuinely used. Keep it very subtle because overdoing this one is obvious immediately.
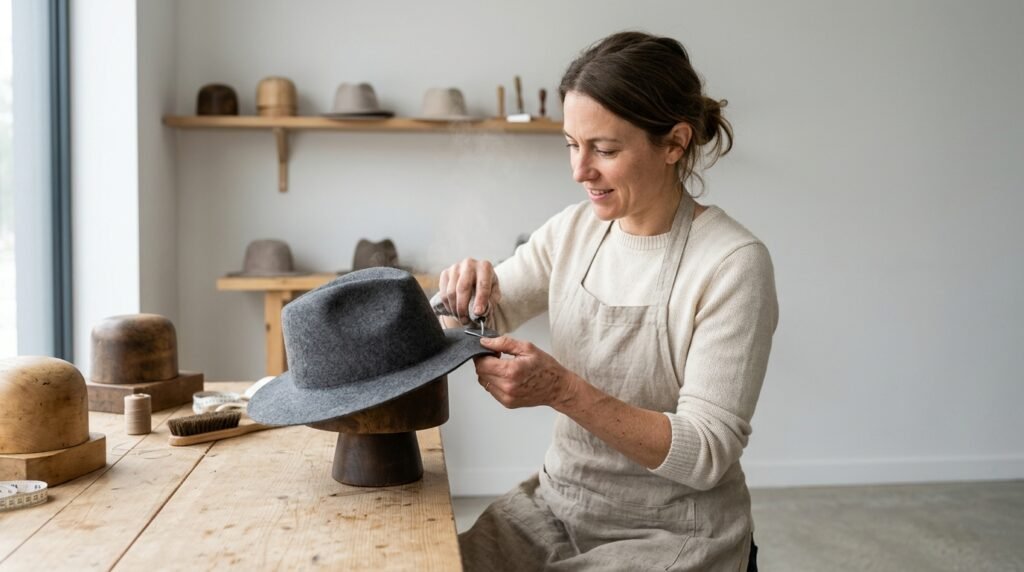
Work the Brim Extra
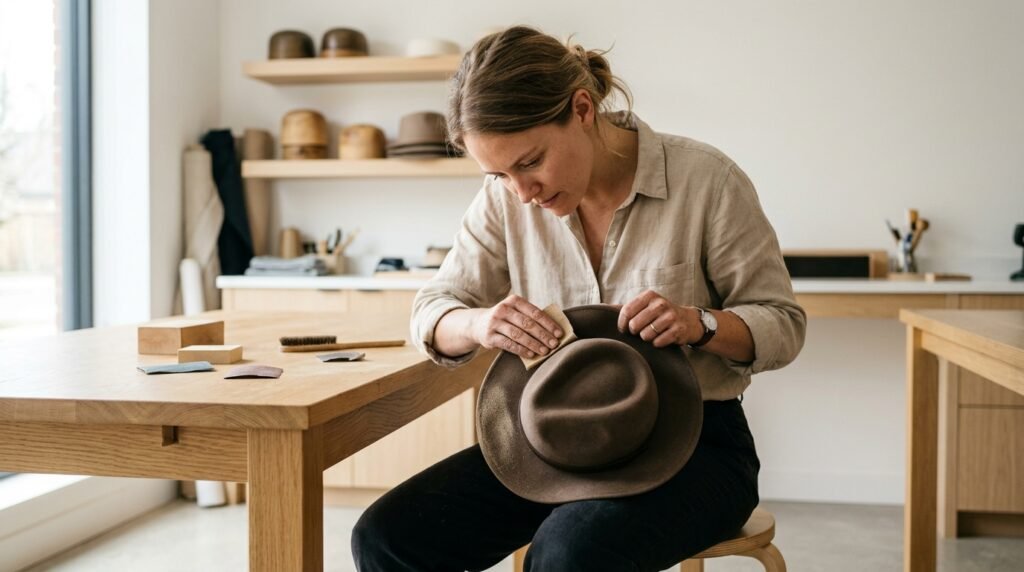
The brim takes the most wear on any real vintage hat so giving it extra attention with sandpaper and light bending in different directions makes the overall distress look far more believable.
Rough Up the Sweatband
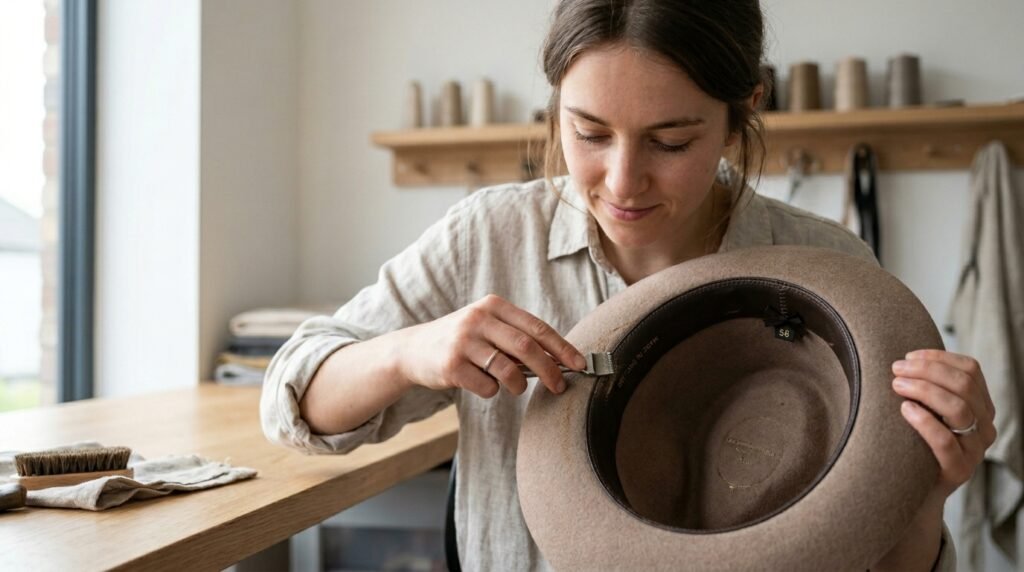
The inside of a genuinely old hat shows as much wear as the outside. Lightly sanding or staining the sweatband keeps the distress consistent from every angle rather than looking done from the outside only.
Bend It Into Character
Reshaping the brim slightly by hand into a natural curve or irregular shape adds the kind of character that flat factory brims never have. Small imperfections are what separate a real worn look from a manufactured one.
Seal It When Done

A light spray of fabric protector locks the finish in place and stops the hat ageing further than intended. It also helps the shape hold through regular wear going forward.
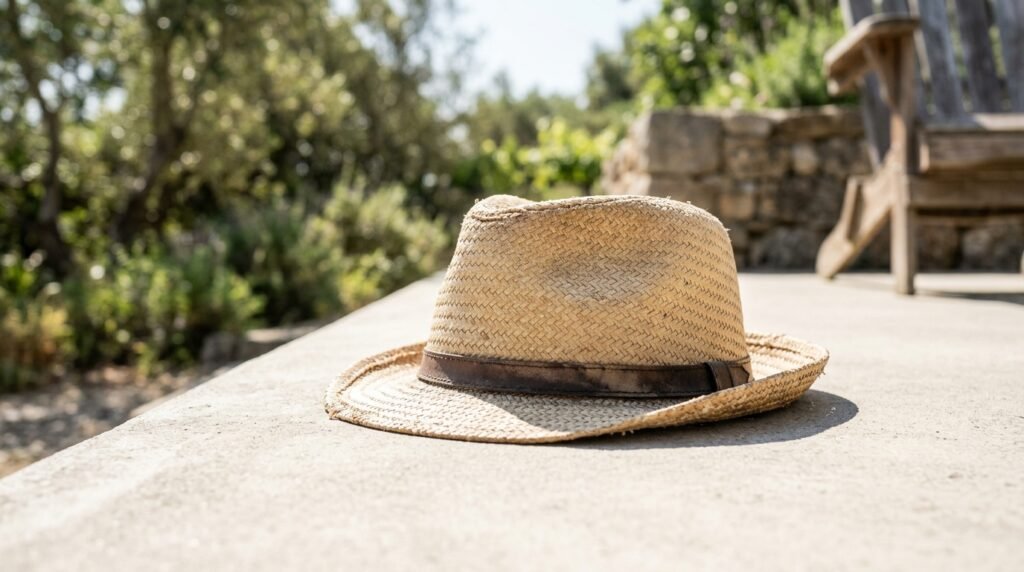
Wear It Like It Has History
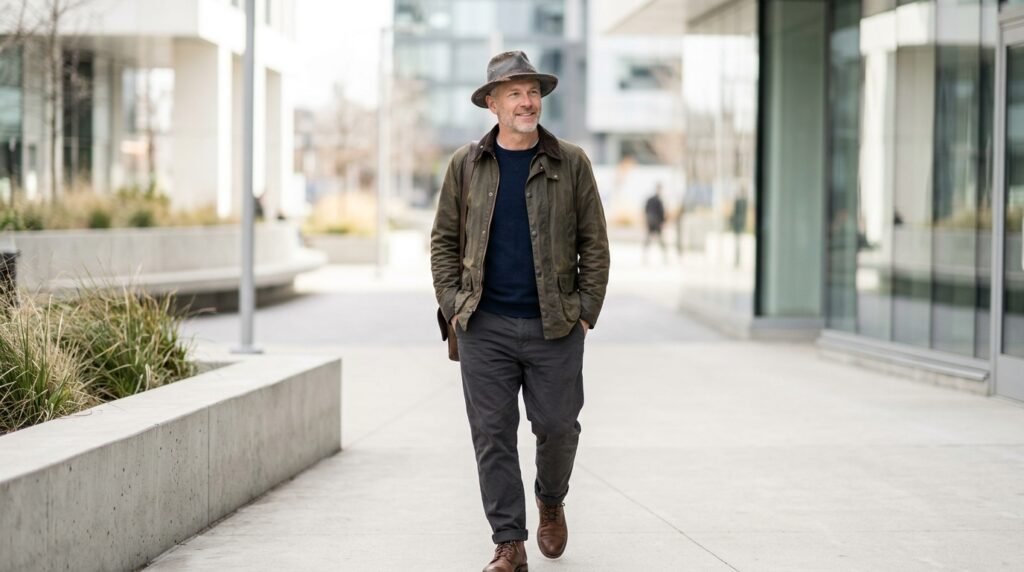
The final step is simply putting it on and forgetting about it. A distressed hat worn with genuine confidence looks like it belongs to someone and that energy is what makes the whole thing actually work.