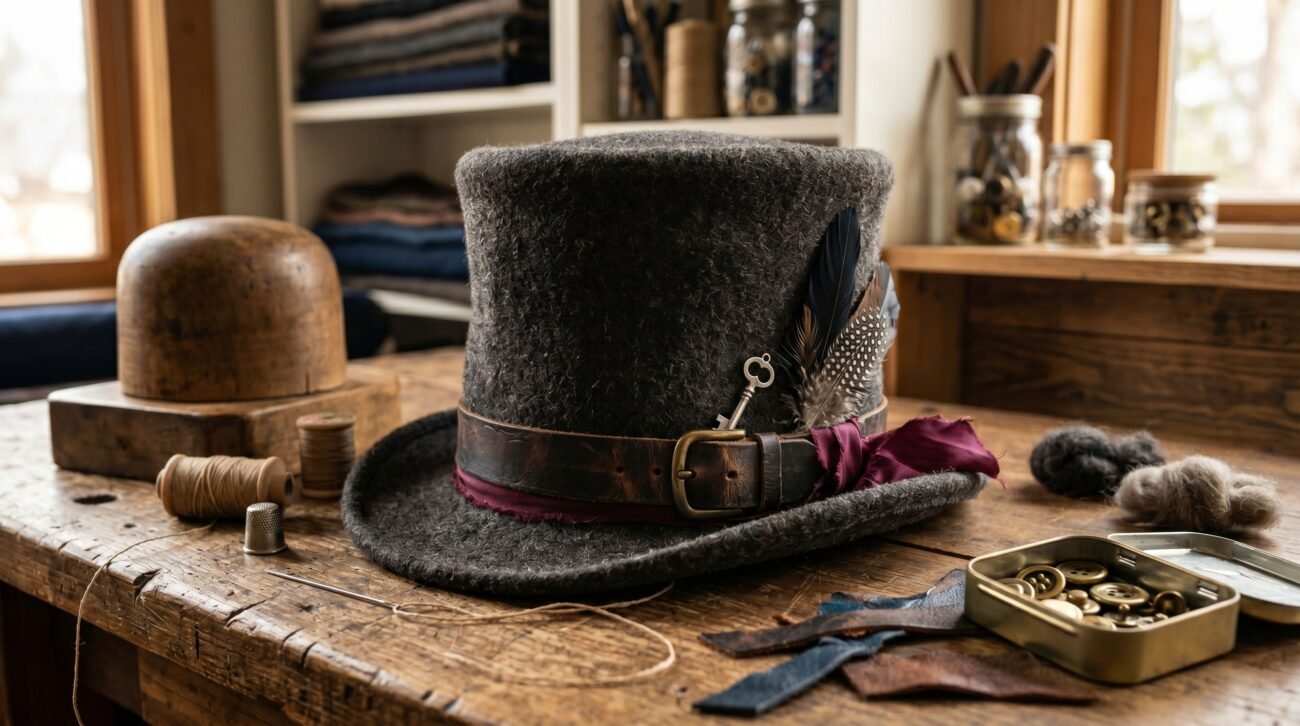
A top hat stands out – not because it’s flashy, but because it holds stories, character, yet speaks quietly of who wears it. Yet building one yourself shifts everything; suddenly it’s no longer just fabric and form. If fashion pulls you in, or costume play does, even if curiosity alone drives you, shaping a unique hat sits closer than imagined. Forget needing tools stacked high or decades behind a needle; what matters most shows up slowly: steady hands, decent supplies, along with a path that makes sense. Follow these steps not as rules etched in stone, rather like notes passed hand to hand – enough clarity to move forward without losing room to breathe. What begins as thought becomes real once worn, held close like something earned.
Choose Your Base
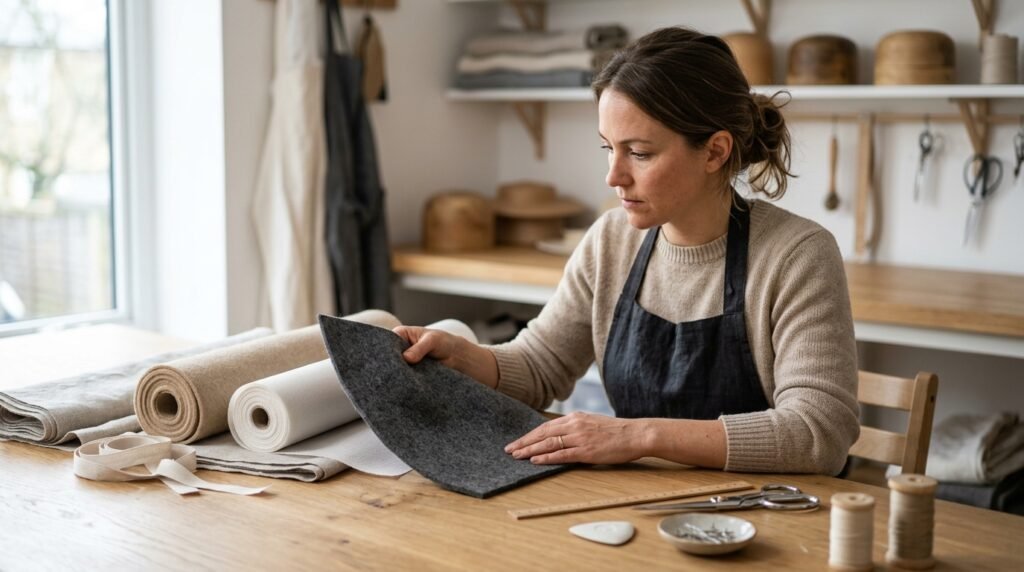
Out of nowhere, go for something tough – maybe felt or perhaps buckram. Shapes the whole thing right from the start. It’ll decide how long it lasts, and also what kind of surface you’re working with.
Measure Precisely
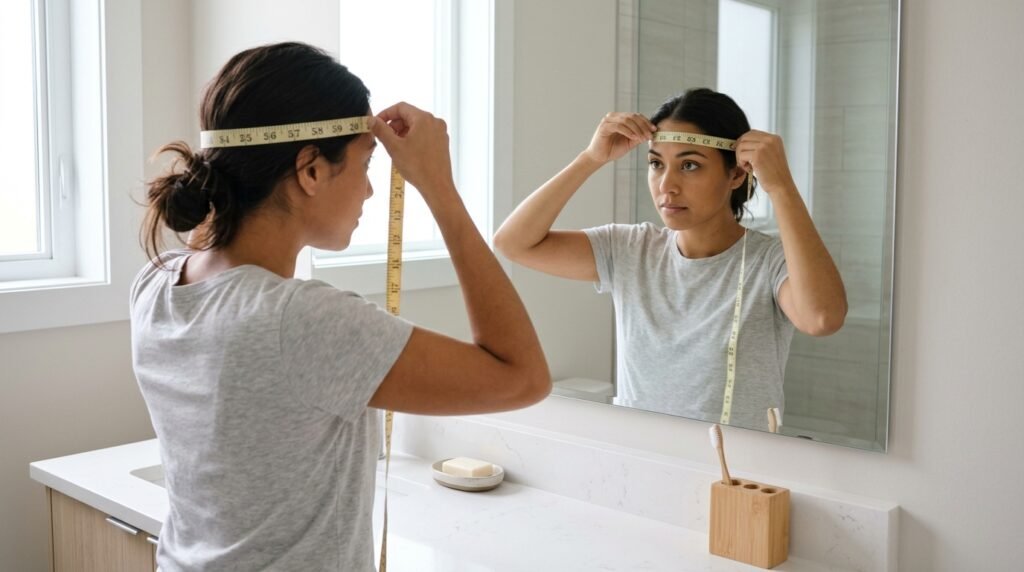
Start by wrapping a soft measuring tape around your head. That slight gap might seem minor, but it changes everything. Accuracy comes easier when the tool bends with you.
Create the Crown

Start with rolling the material into a tube-like form for the top. Then, tuck the sides in smooth and even. The way this looks will decide how the whole hat appears.
Build the Brim
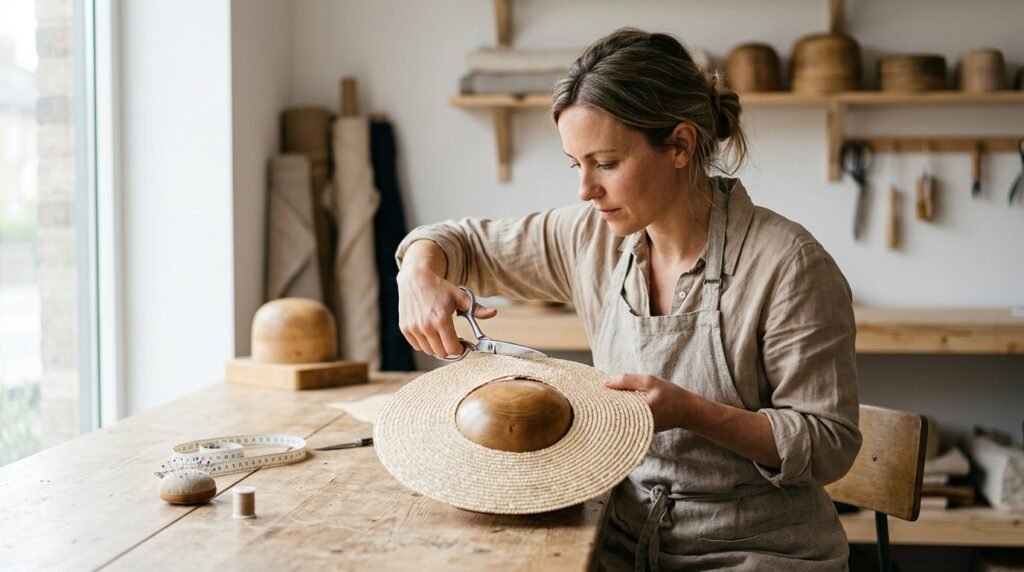
A slice of level circle forms the brim, hollowed at its middle where the crown fits. Fastened beneath, it holds tight without slipping. Weight shifts feel steady because of how it spreads across the shape.
Reinforce Structure
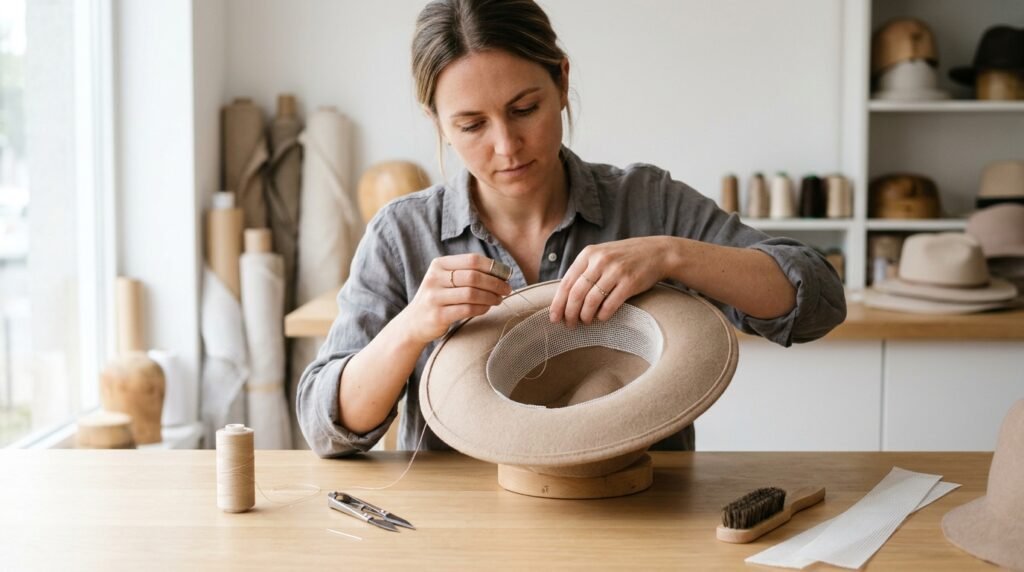
Inside, a hidden layer gives the hat backup through connecting materials. That keeps it looking sharp for more seasons. Strength builds when parts link beneath the surface.
Smooth the Surface
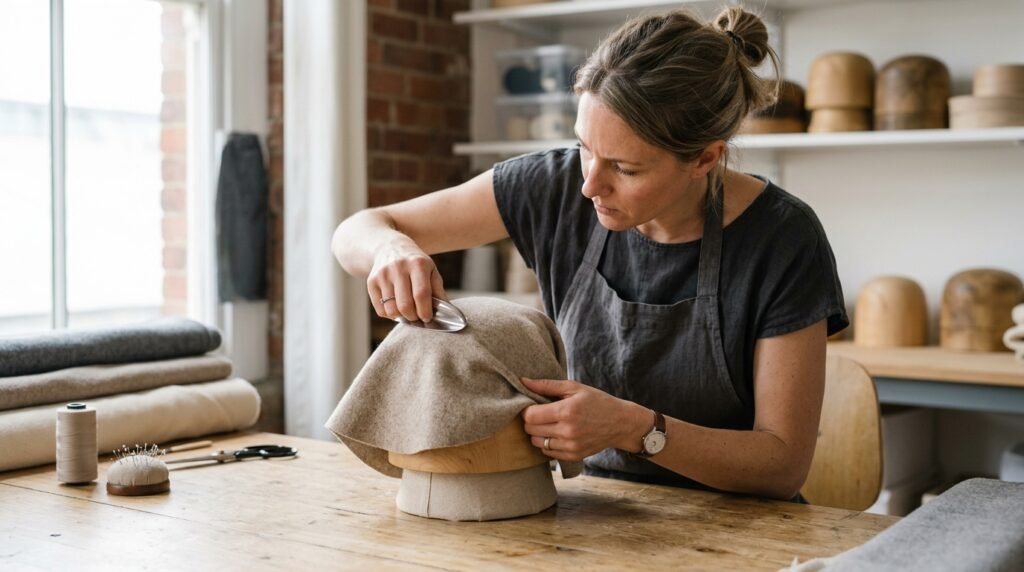
Start by wrapping the bottom part in cloth or soft material to give it a tidy edge. Pull the covering tight, then fasten it smoothly – no creases allowed. How this piece is handled shapes everything that comes after.
Add a Band
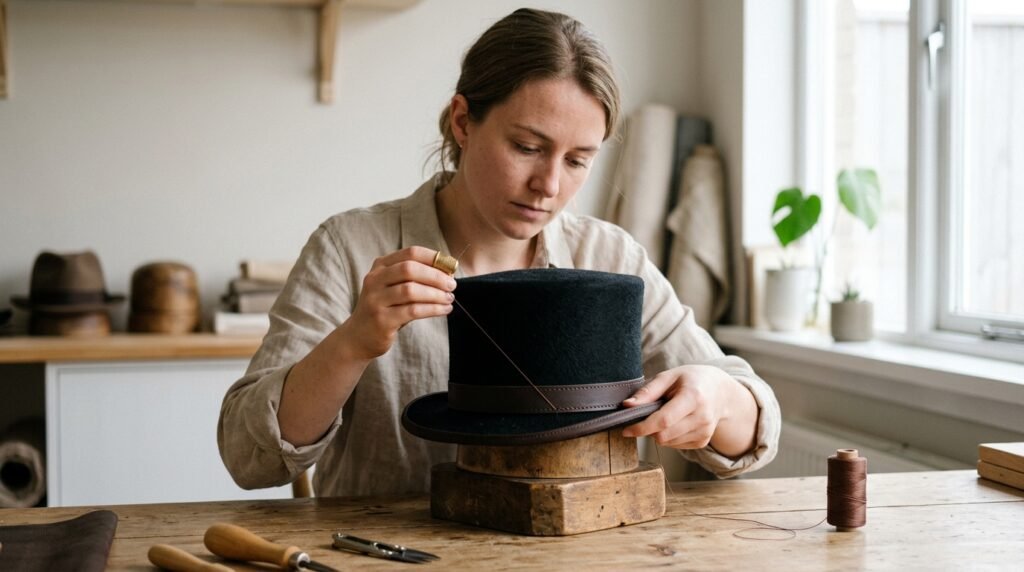
A strip of ribbon or leather fastened at the crown’s base brings subtle character. That little addition masks joints neatly. Style lifts when details like these take shape. Finishing moves such as this one sharpen the look.
Shape the Edges
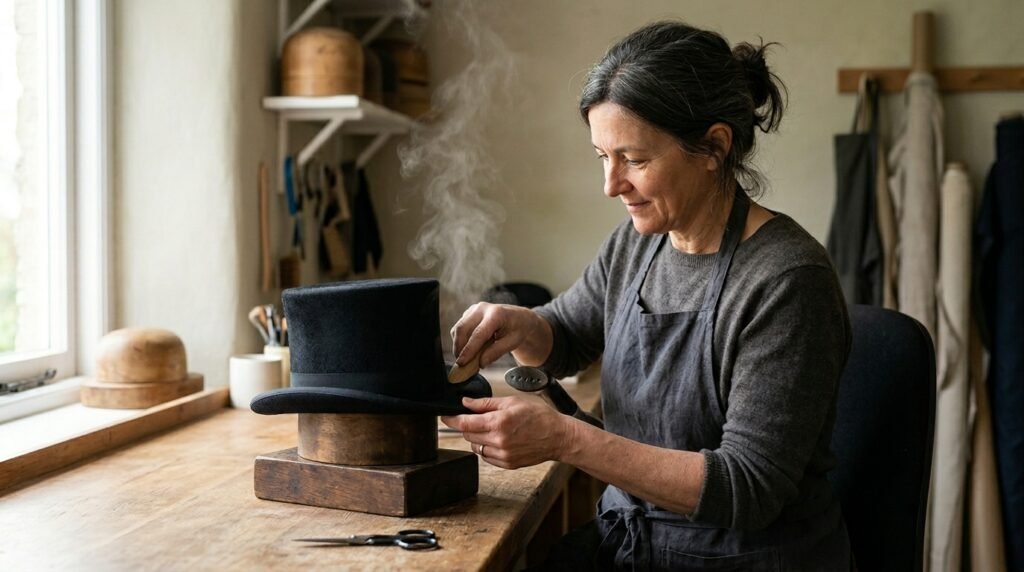
Start by bending the edge of the brim just a little, or hold it firm – your choice. If things feel tight, a soft puff of steam helps loosen fibers. Little tweaks here bring out character, not unlike how a smirk changes a face.
Personalize Details
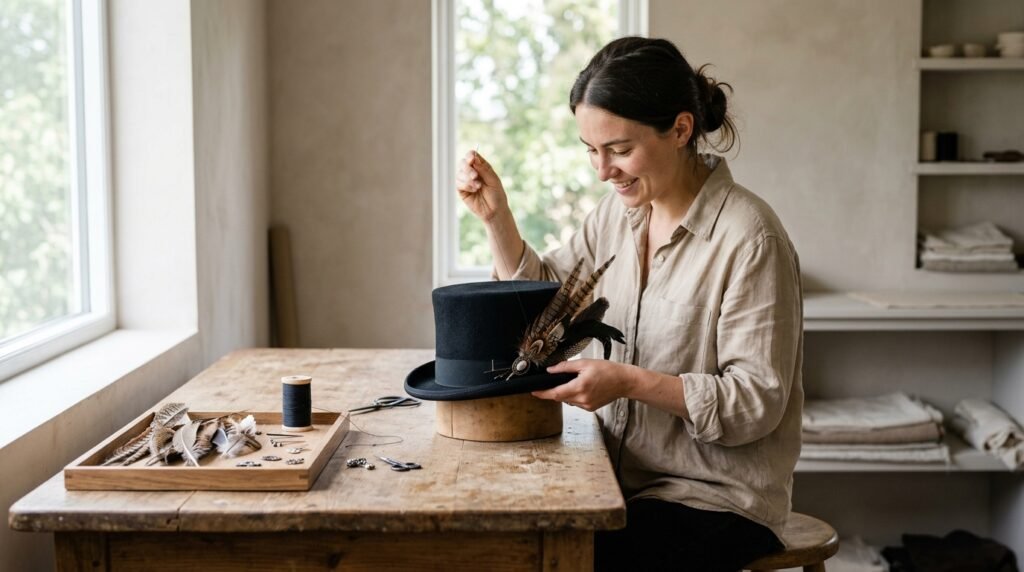
Feathers might go on top, maybe a pin near the brim – something chosen, not tossed together. Balance matters, like how each piece sits without weighing down the rest.
Final Adjustments
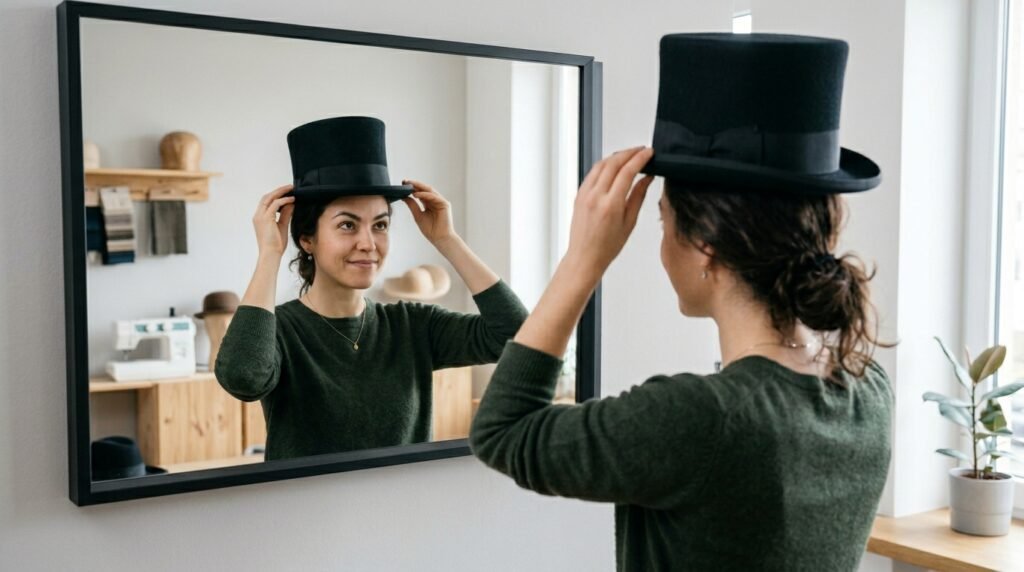
Start by trying it on, see how it sits. Notice the way it balances on your head. Walk a bit, maybe bend down. Fit matters just as much as appearance. Adjust here or there if something feels off. The finish should smooth out any roughness.